
This post is inspired by the terrible experiences I had when I first started working in the command line and is hopefully a better introduction to working with it in OS X. Before we go any further, I highly suggest you download and install iTerm2 because the default Terminal.app can be a bit little lacking. Once installed, keep it in your dock. It’s your new best friend.
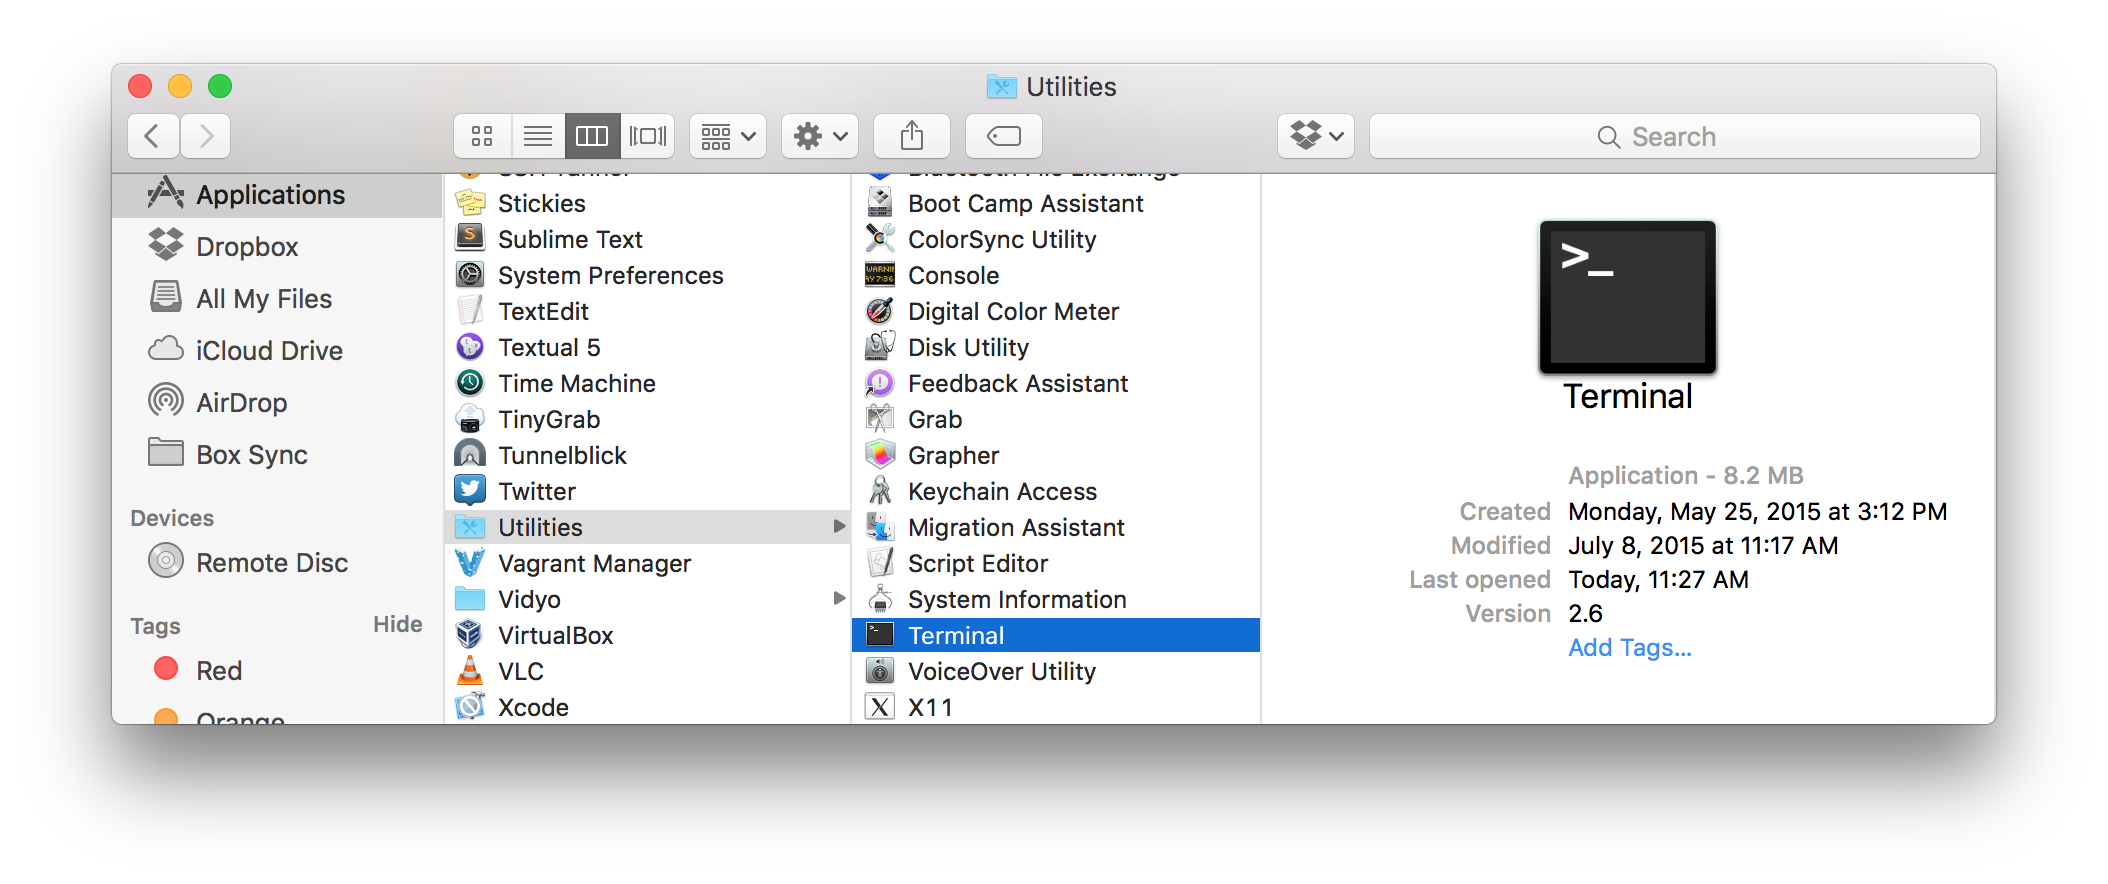
If you’re not comfortable with that option, you can always use the default terminal found in OS X at: Applications > Utilities > Terminal.app
Throughout this post I’ll have code examples to highlight commands and their output. The examples will use the following documentation style:
- the commands you’ll be typing in will be the first line of every example and any lines that are not grayed out
- be sure to hit the enter key after you’ve confirmed the commands you’ve typed out, if not the terminal will not process the command
- comments will start with a
#and will be grayed out
Here’s an example below that you can try out. The command is the first line and the expected result of the command is commented out in the second line.
echo "hello world"
# hello world
The command you just entered prints out or “echos” a message that you specify. That example isn’t that useful but the next examples will guide you through the core concepts needed to make the most of the terminal. These concepts include:
- Navigating the File System
- Manipulating the File System
- Helpful Tips & Tricks
- Shells & Settings
Navigating the File System
Print Working Directory
First things first, when you run a command, it is always run from a folder on your system. This context or working directory is important to know since some commands are run relative to this. To show or “print” your current working directory, run the following command.
pwd something
#  /Users/yourusername
Don’t worry if your output doesn’t look like /Users/yourusername, the next command, cd, will get you back on track.
Change Directory – Part One
The change directory command helps you navigate through your file system. Run the following command to navigate to your home directory.
cdThere’s no output for this command but if you run pwd again you should see your home directory.
Open Current Directory
So now that we know where we are, the next command will open the Finder.app to help us relate what’s “around” us.
open .
# A Finder window with your home directory should have opened up
List Directory Contents
Run the following command to list the current directory contents, which in our case would be our users main folders.
ls
# Desktop Documents Downloads Library Movies Music Pictures Public Sites
Command Arguments
Any characters that come after a command can be considered an argument. Arguments may also be referred to as flags, options or parameters. Arguments alter the default options for a command.
The output from the previous command was hard to read. To list directory contents in a proper list, add a -l argument to the previous ls command.
ls -l
# Desktop
# Documents
# Downloads
# Library
# etc.
To also include normally hidden files, like dotfiles -> .example, use the -la argument.
ls -la
# .bash_history (example of hidden file)
# .DS_Store
# Desktop
# Documents
# etc.
Change Directory – Part Two
Now that we know arguments, let’s use them to move around our file system. Run the change directory command with ~/Documents as an argument to navigate to your Documents folder. Note, the ~/ is a shorthand notation for the path to your users home directory. ~/ is equal to /Users/yourusername.
cd ~/DocumentsNext, lets print our new working directory
pwd
# /Users/yourusername/Documents
Next let’s print out the same stuff you’d see in Finder.app for the Documents directory
ls -laGood stuff so far? Lets go a little bit further.
Manipulating the File System
Next up, we’ll be working from our Desktop directory to create a few child directories and files. Remember, you can use your Finder app to verify the commands you have run. Let’s go ahead and change our working directory to the Desktop.
cd ~/DesktopMake Directory
To create a directory or folder, you’ll use the mkdir command. Let’s create a directory on the desktop called “tmp” by running the following command.
mkdir tmpCreate Files
Before we create files, navigate to the tmp directory we just created.
cd tmpNow we can create a few files using the touch command.
touch foo.txt
touch bar.txt
Next, let’s create another directory and create a file inside it. We can create files that are not in our current working directory by specifying the path to the file we want to create, test/sample.txt.
mkdir test
touch test/sample.txt
Use ls -l or open this up in finder (open .) to visualize what we’ve created.
Copy
In order to copy files we’ll use the cp command. Try copying foo.txt.
cp foo.txt foo_copy.txtNext let’s copy the test directory we made earlier and name this new copy exam. We’ll have to use the -r argument to ensure it recursively copies the directory and any files inside of it.
cp -r test examIn this last cp example we’ll copy bar.txt into the exam directory.
cp bar.txt exam/bar.txtHere’s a break down of the cp command
- the first argument after
cpis the file or directory location - the second argument is the destination of the file or directory
cp filename.txt copyoffilename.txtorcp -r dir_path dir_path_copy
Move & Rename Files
The mv command allows you to move files or directories. Try it out by moving the file foo.txt inside of the exam directory.
mv foo.txt examNext, let’s move the test directory inside of the exam directory.
mv test examIt sounds weird but we can also rename files by using the same mv command. Let’s practice renaming a file by changing bar.txt to foobar.txt.
mv bar.txt foobar.txtNext, we’ll practice renaming a directory by changing exam to quiz.
mv exam quizRemove/Delete
The rm command is used to delete files and/or directories. Unlike deleting a file or folder form the Finder app, this command does not move things to the Trash bin. Let’s try using the rm command to delete the file foobar.txt.
rm foobar.txtNext, let’s delete the test directory within the quiz folder. We’ll pass -rf as an argument to remove everything within quiz/test.
rm -rf quiz/testTips & Tricks
History
Use the up and down arrow keys to go through your history of commands. To view your entire history of commands, use the history command.
historyTo search your history of commands for something like “mkdir” (to see which directories you created), use grep in the following pattern.
# history | grep "text to search"
history | grep "mkdir"
In the previous command we used the | or pipe character. It’s used to pass in the output from the command on the left, history and pipes it into the next command, grep mkdir. I can’t stress how much this command combo has saved me.
Fix permissions
Permission errors are the most common problems I see people run into using the command line. Usually this happens when installing a language or language dependency. To fix this, run the following command to set your current user as the owner of the /usr/local directory.
sudo chown -R `whoami` /usr/localAdd a shortcut to your editor
If you’re using Sublime Text, it’ll be very useful to have the subl command available to launch the app from the command line. With this you can pass in files or directories to open them directly in Sublime Text.
ln -s "/Applications/Sublime Text.app/Contents/SharedSupport/bin/subl" /usr/local/bin/sublExample usage:
# to edit a file foo.txt
subl foo.txt

# to open the current directory</span>
subl .
Wrapping up
Alright! I think that covers the most important skills for working with the terminal, navigating and manipulating the file system. With this knowledge you’ll have a better experience learning other cool tips or advanced stuff, like using git. In a future post I’ll cover some other topics like shells, terminal settings, aliases and environment variables. As always, if you run into any issues with the commands above or if you have any feedback, feel free to leave a comment or open up a github issue.
Comments